First off, you’ll need to ensure all of the pertinent property & tenant information is entered into Pendo.
- Property
- Rental Unit (If inspecting a condo or apartment)
- Tenant(s)
Start by setting up your Properties and Units in the web app (app.pen.do). Then click into the Unit you wish to inspect in the web app and click on Add a Tenant for this Unit. Then set up their Lease record.
After those steps are completed, please open the Pendo Move in/out Inspection app on your mobile device.
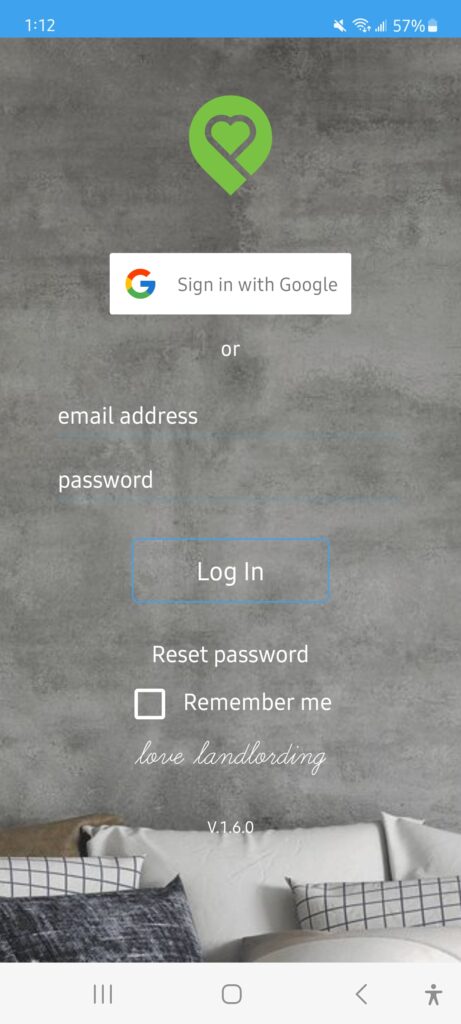
- Enter your login credentials (same as your Pendo account) and click the Log In button:
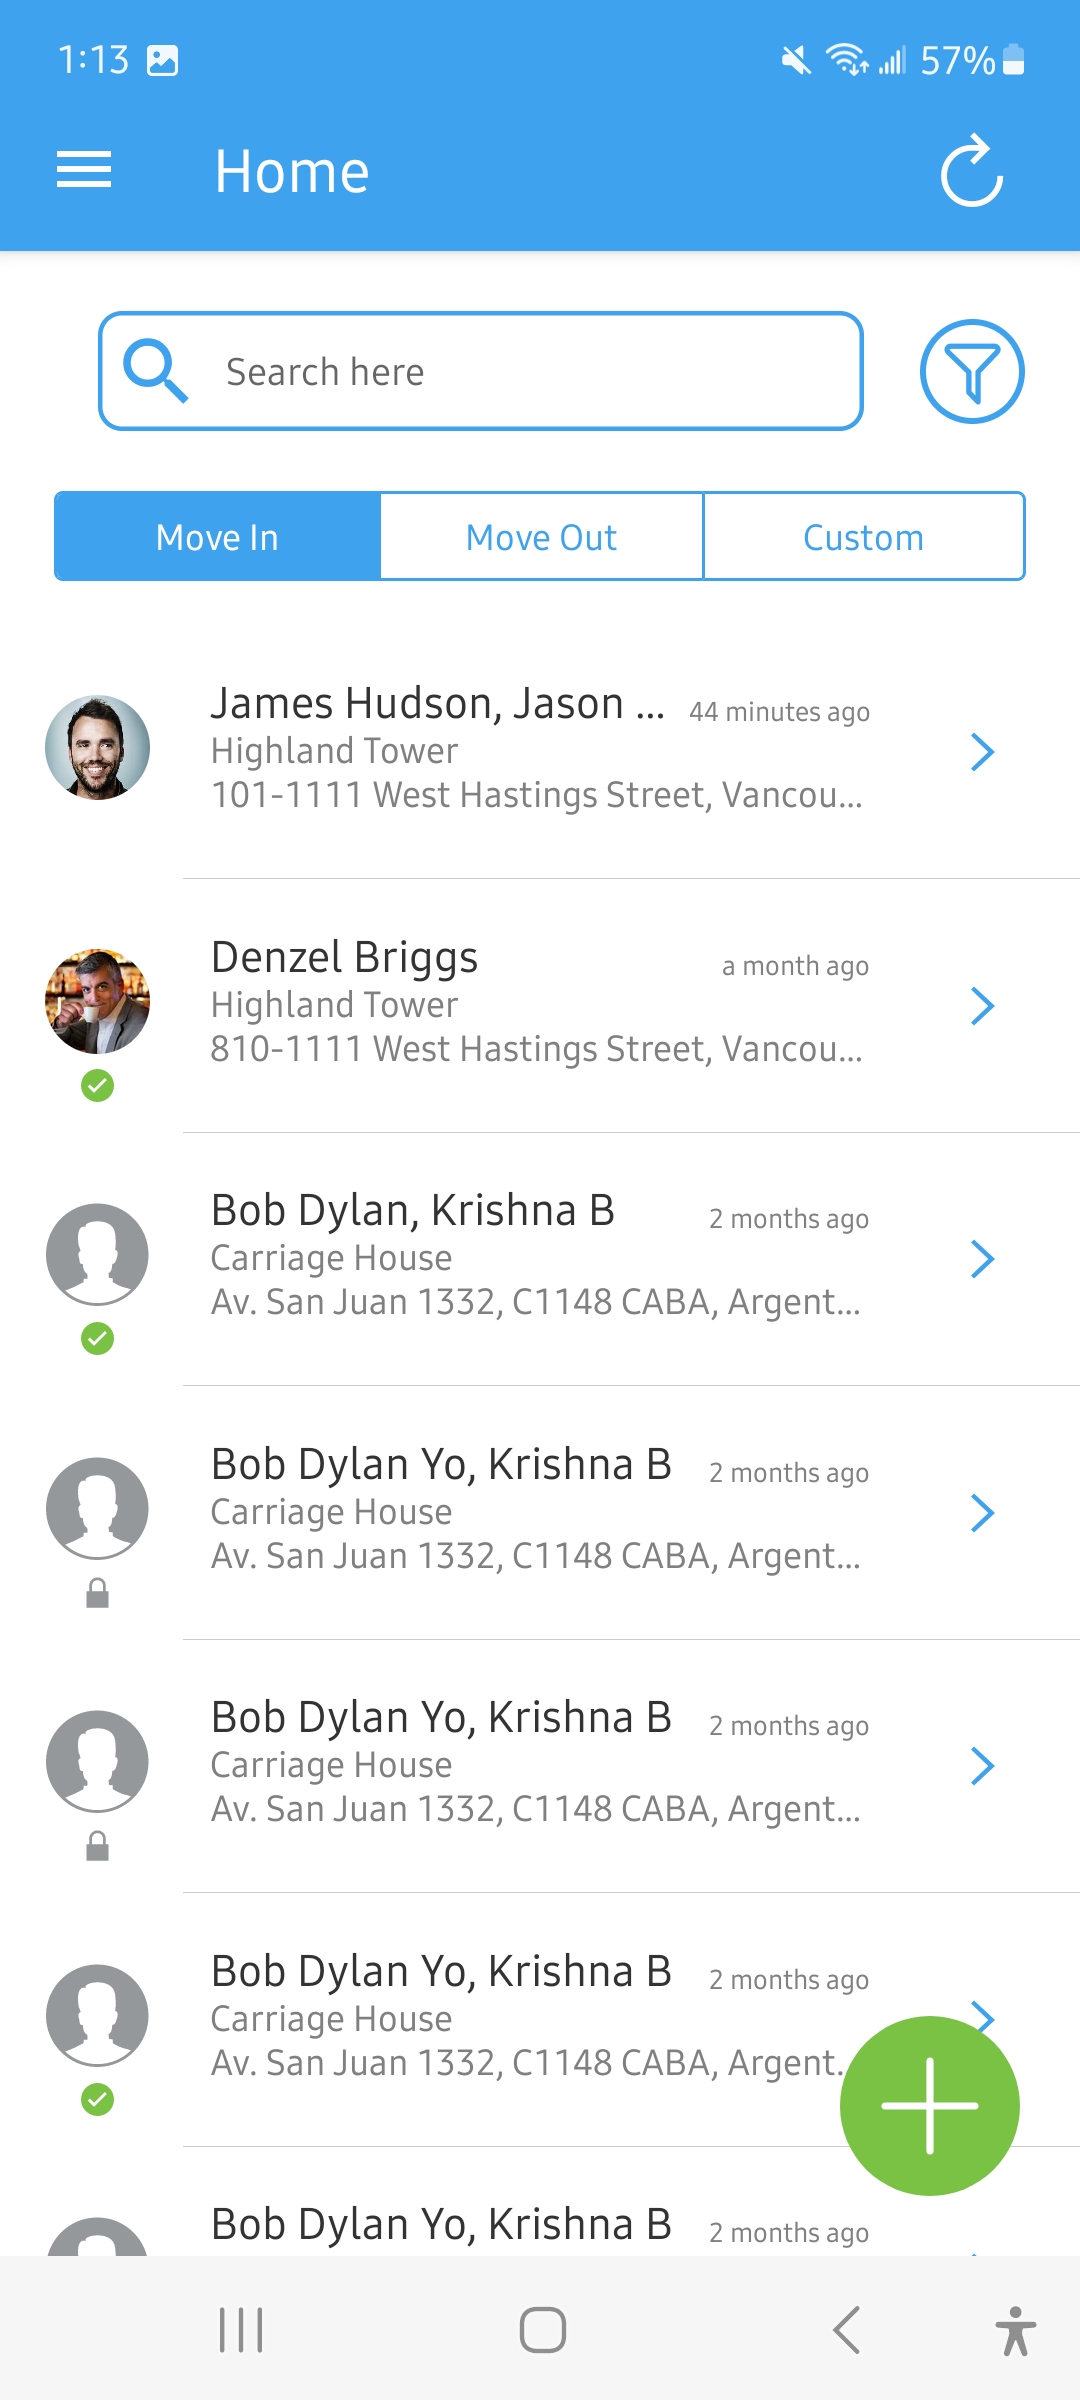
- Click on the type of inspection you wish to complete [Move In, Move Out or a Custom Inspection]
- Then click on the Green Plus to create a new inspection
- Select the Property and Unit you’d like to inspect.
- Add the Tenants present at the inspection. If they are not present, you can click on the blue circle to remove them OR if none of the tenants showed up for the inspection, click on the No Show to indicate that no tenant was present during your inspection. Then click Next
- Click on the blue Start Inspection button
- Choose your name from the drop down list and then click on the check mark to complete the set up.
Begin the inspection of each room.
Note: When conducting the walk through, please only record evidence of damage that will not be repaired prior to move in. The app is not designed to store photographs of all living spaces. A large amount of pictures will result in the app crashing.
- Click on Spaces and click on Add to choose the room where the damage is located.
- Choose an element within the Space and note its condition.
- Add a Photo or make additional Notes, or simply mark as Not Applicable. Remember to click ‘Save’ after completing each area.
- Go through the list of Appliances and note the condition of each item.
- Fill out the remaining sections: Keys, Alarms, and Deposits.
- Once all required sections are completed, go to Signatures and sign the Report.
- Once signed, you will notice that the Report is locked, and you now have the option to Share the Report.


